DIY: Wooden Washer Toss Game
Howdy friends!
We have been in full-blown wedding mode lately--securing details, having meetings, and making some good old DIY projects. The first project was the ladder golf game. We constructed and painted it about a month ago when we were visiting my parents at their farm.
After much consideration, we decided to make our own washer toss game out of plywood, and PVC pipe. We had a great time making it, and it was kind of fun/challenging to construct it out of our tiny little apartment. If you're interested in making your own, here's how we made ours!
Supplies for Washer Toss Game:
1 sheet of 3/4 inch thick plywood
Titebond III wood glue
2 clamps (the more you have, the more useful--but we did it the "budget" way)
Sandpaper for smoothing edges
2 drawbolt closure type latches
1 drawer handle
4" diameter PVC pipe (the sell these in small sections at Lowe's!)
1 outdoor rug
Jigsaw
2 ft. measuring square
Before you can make the boxes, you'll first have to cut the wood. In the end, here are the dimensions and quantity of boards that you will need:
(2) 16"x20"
(2) 9"x20"
(2) 9"x16"

Once your pieces are cut, sand the edges smooth. Once smooth, wipe away any dust and place wood glue on the 20" edge of one 9"x20" board. Secure this board to the 16"x20", lining up the edges. Put a clamp on both ends, and allow to dry completely. Repeat this process for the second 9"x20". You should end up with a piece of wood on the bottom, and two pieces across from each other, forming somewhat of a "trough". Once dry, you are ready to put the end pieces on. Put glue on the long edge of the 9"x16" board, and on the exposed edges of the boards already secured. Place the board, and clamp as before. Allow those to dry, and repeat with the second 9"x16" board the other end.

At this point, you will have a structure that looks like a house without a roof (a bottom, and 4 walls). Now you can put glue on all four edges facing the ceiling, and place the last board (16"x20"). Clamp, and allow to dry.
Once dry, you will need to draw some lines on your box (as of right now, you just have a wooden box, with no openings). The lines will be your cutting guide. You are going to magically split 1 box in half, to make two boxes that will perfectly fit together. Use your square to do this.
With the box sitting on its largest board (16"x20" boards should be on bottom and on top), measure 3.75" from the bottom of the box, and draw a horizontal line all the way across the 9"x16" board. (Remember, that the box is now 10.5" tall, due to the thickness of the plywood). On the opposite side, measure 6.75" from the bottom of the box, and draw a horizontal line all the way across the other 9"16" board. Make sure you don't flip the box when you do this.
Using your square, you will want to connect the lines you drew across the 9"x16" boards on the 9"x20" boards. Your line should be slightly diagonal. Repeat on the opposite side. This line should be diagonal, too. When cut, these pieces will perfectly fit together, to make one, easy to carry, box.
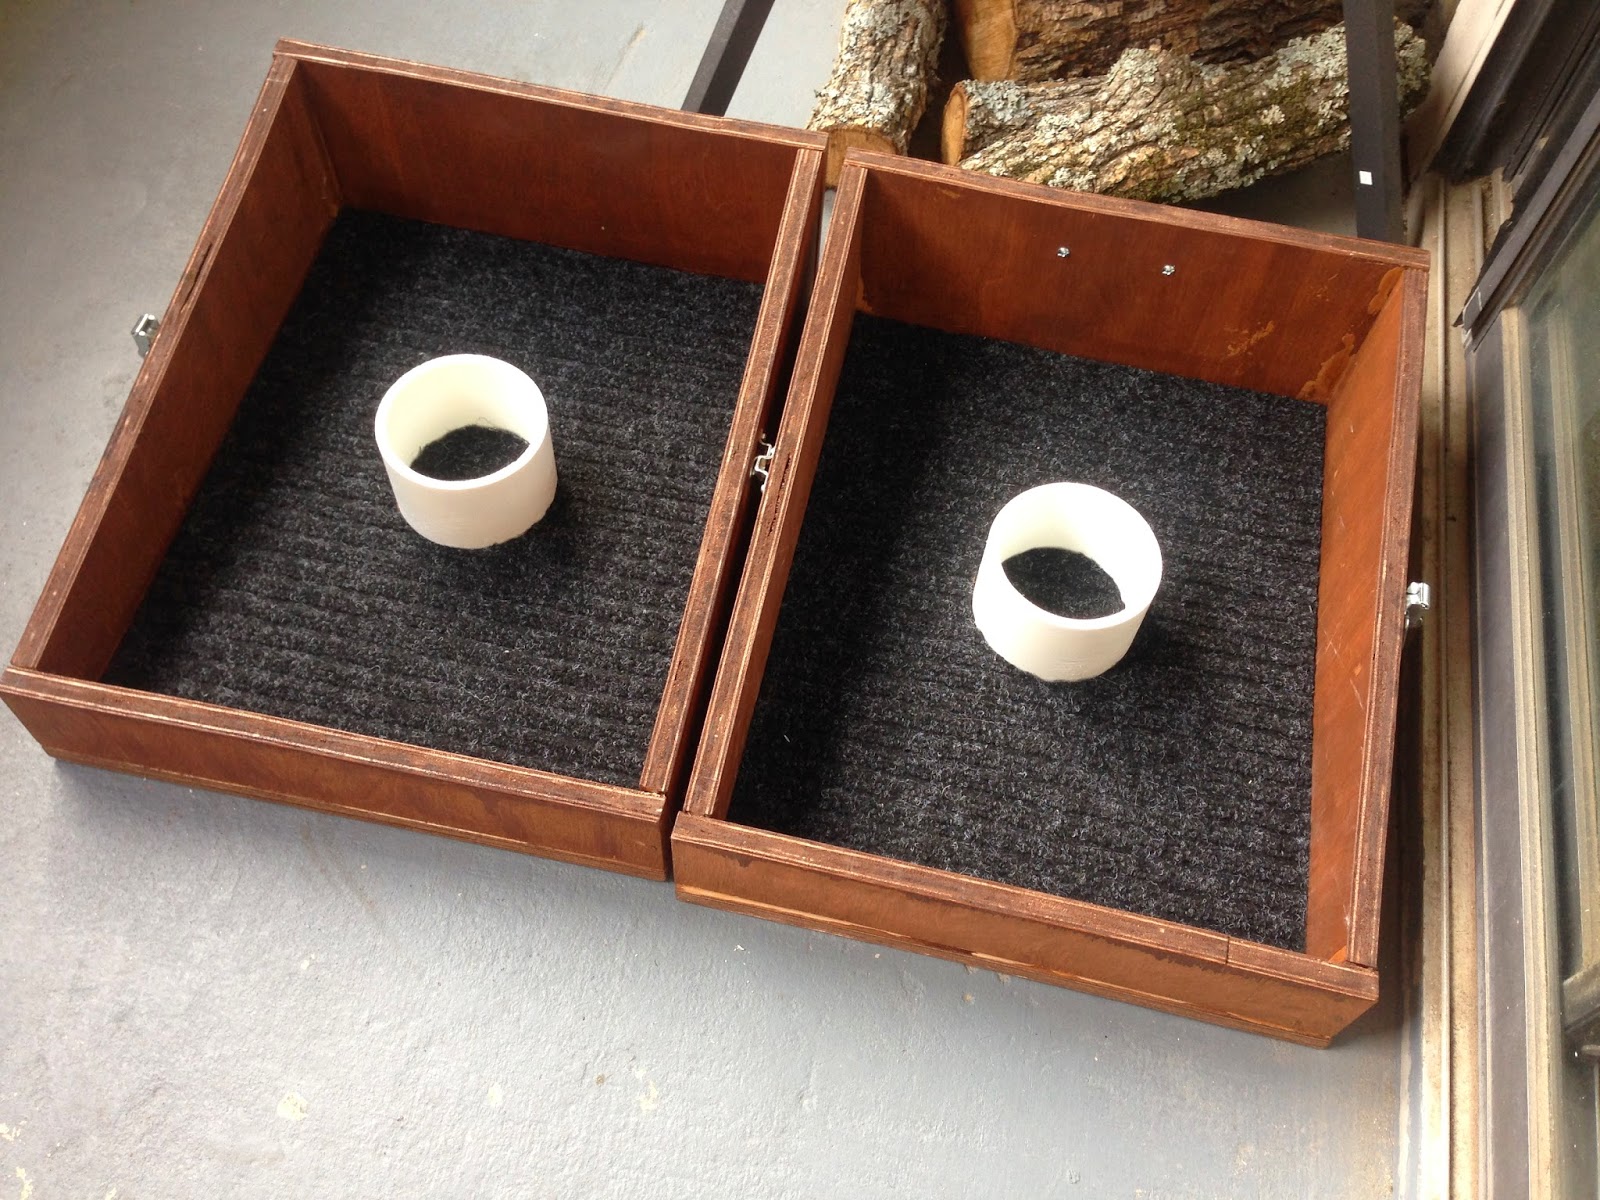
Using your jigsaw, cut down each line. Once you are finished, here's what your box will look like! 2 trays = 1 box.


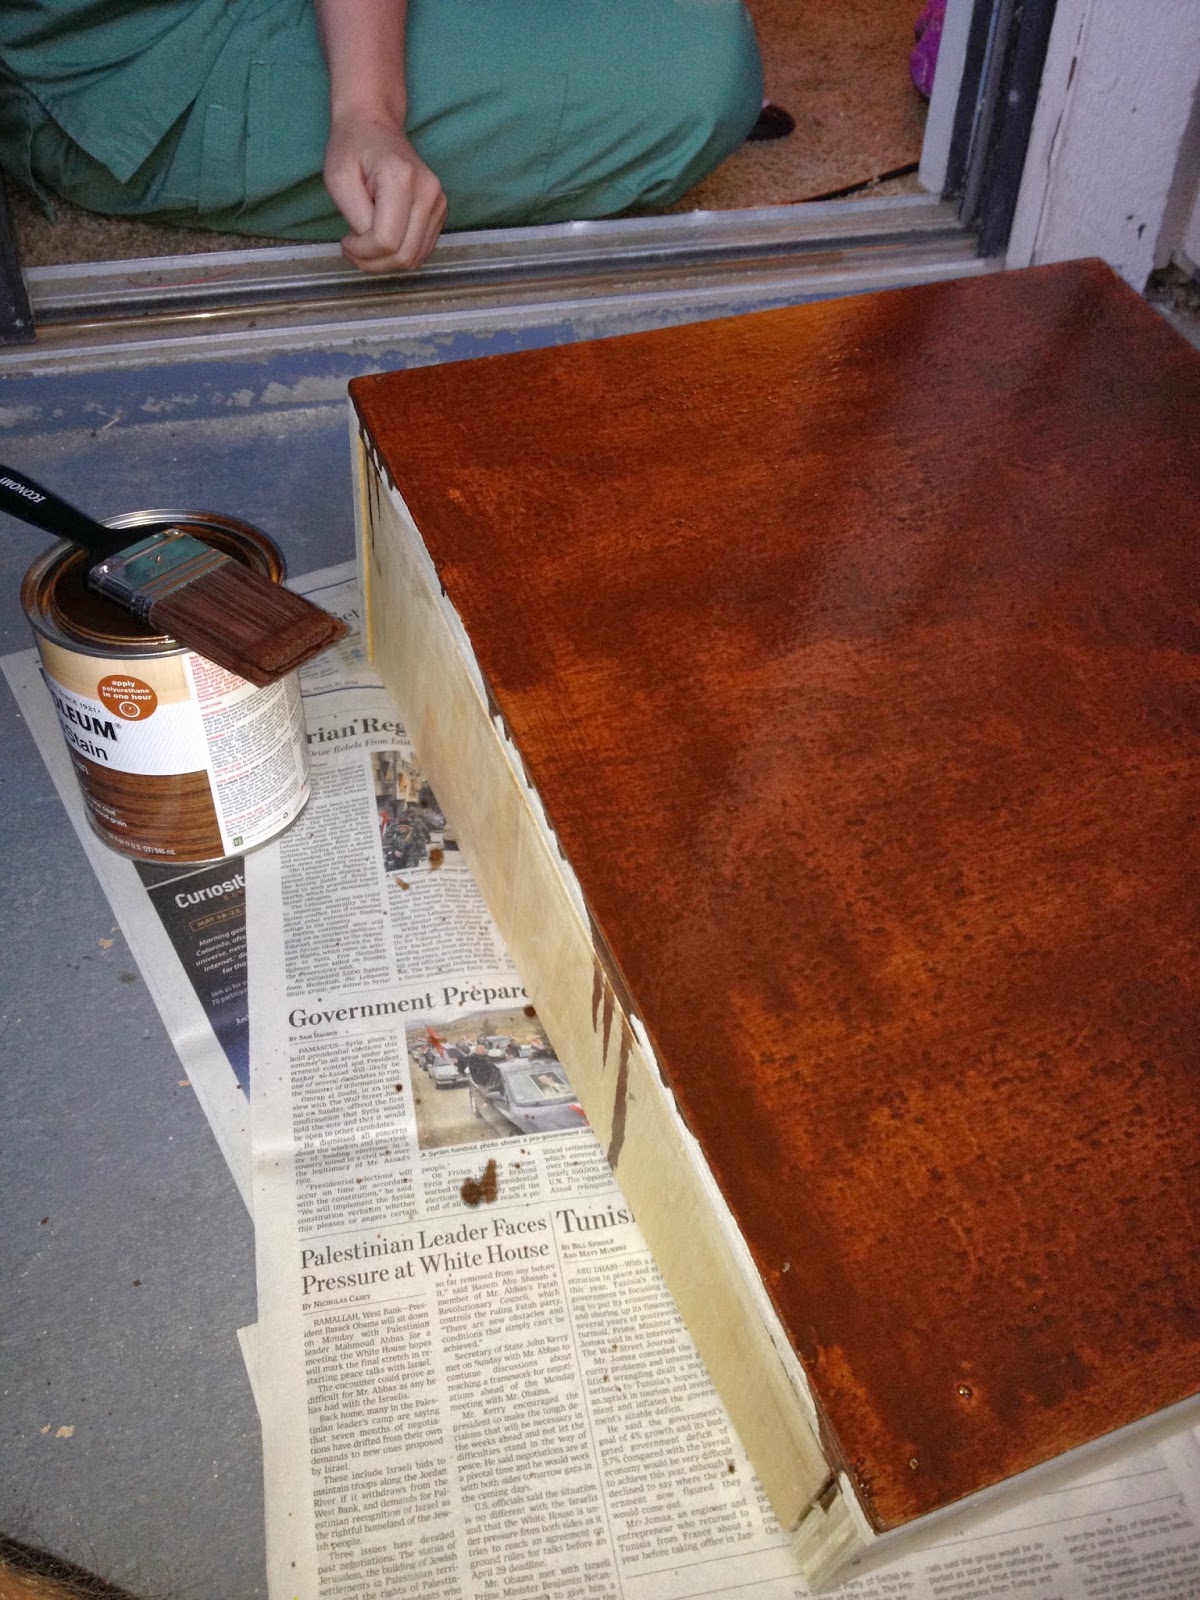
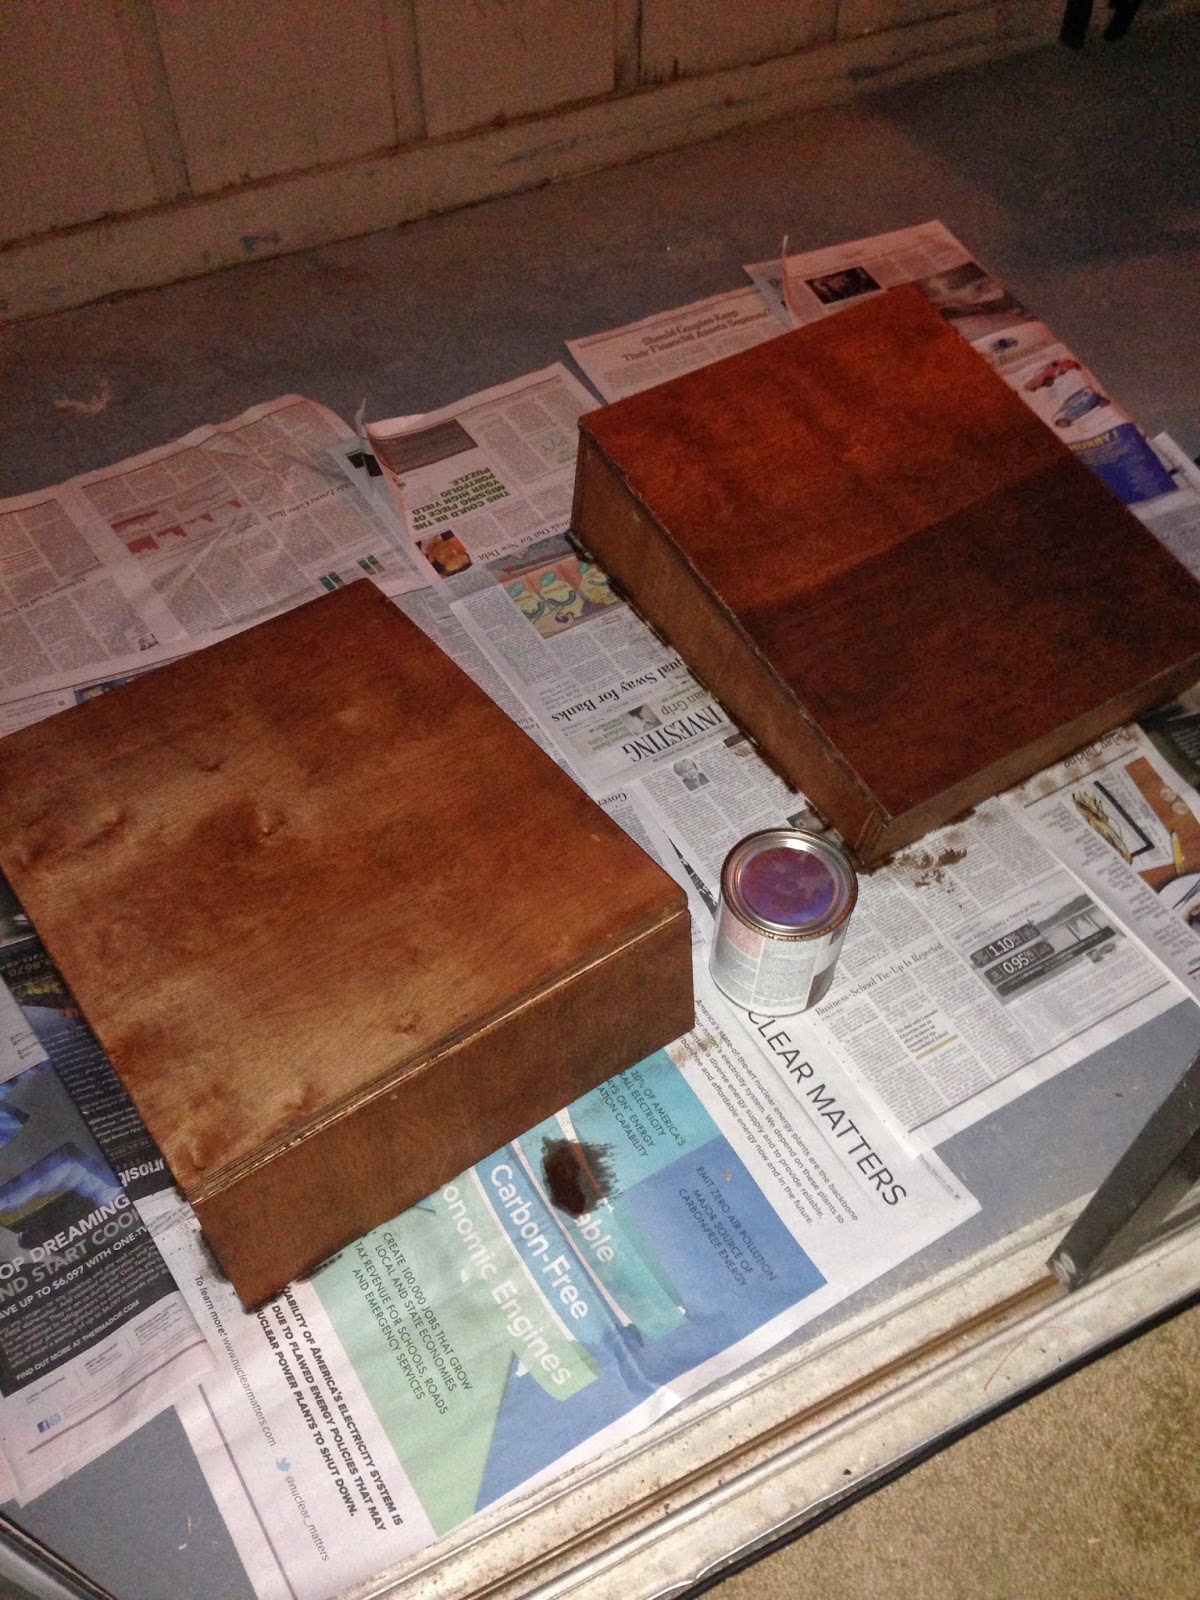
At this point, feel free to stain or paint the boxes however you choose. We decided to stain them, and I'm very happy with that decision.
Once dry, secure your latches. You will need to place 2 latches, one on each side of the box, to secure it. Once the latches are on, you can add the handle for easy carrying.
Now that your boxes are constructed, you will need to cut the 4" PVC pipe. In the end, you will need 2 3" tall pieces. To make sure you have a straight edge visible, I suggest you cut the two pieces from opposite ends of the pipe (to insure that each piece has at least 1 straight edge). We used a dremel tool to cut the PVC, but you can use whatever method you prefer.
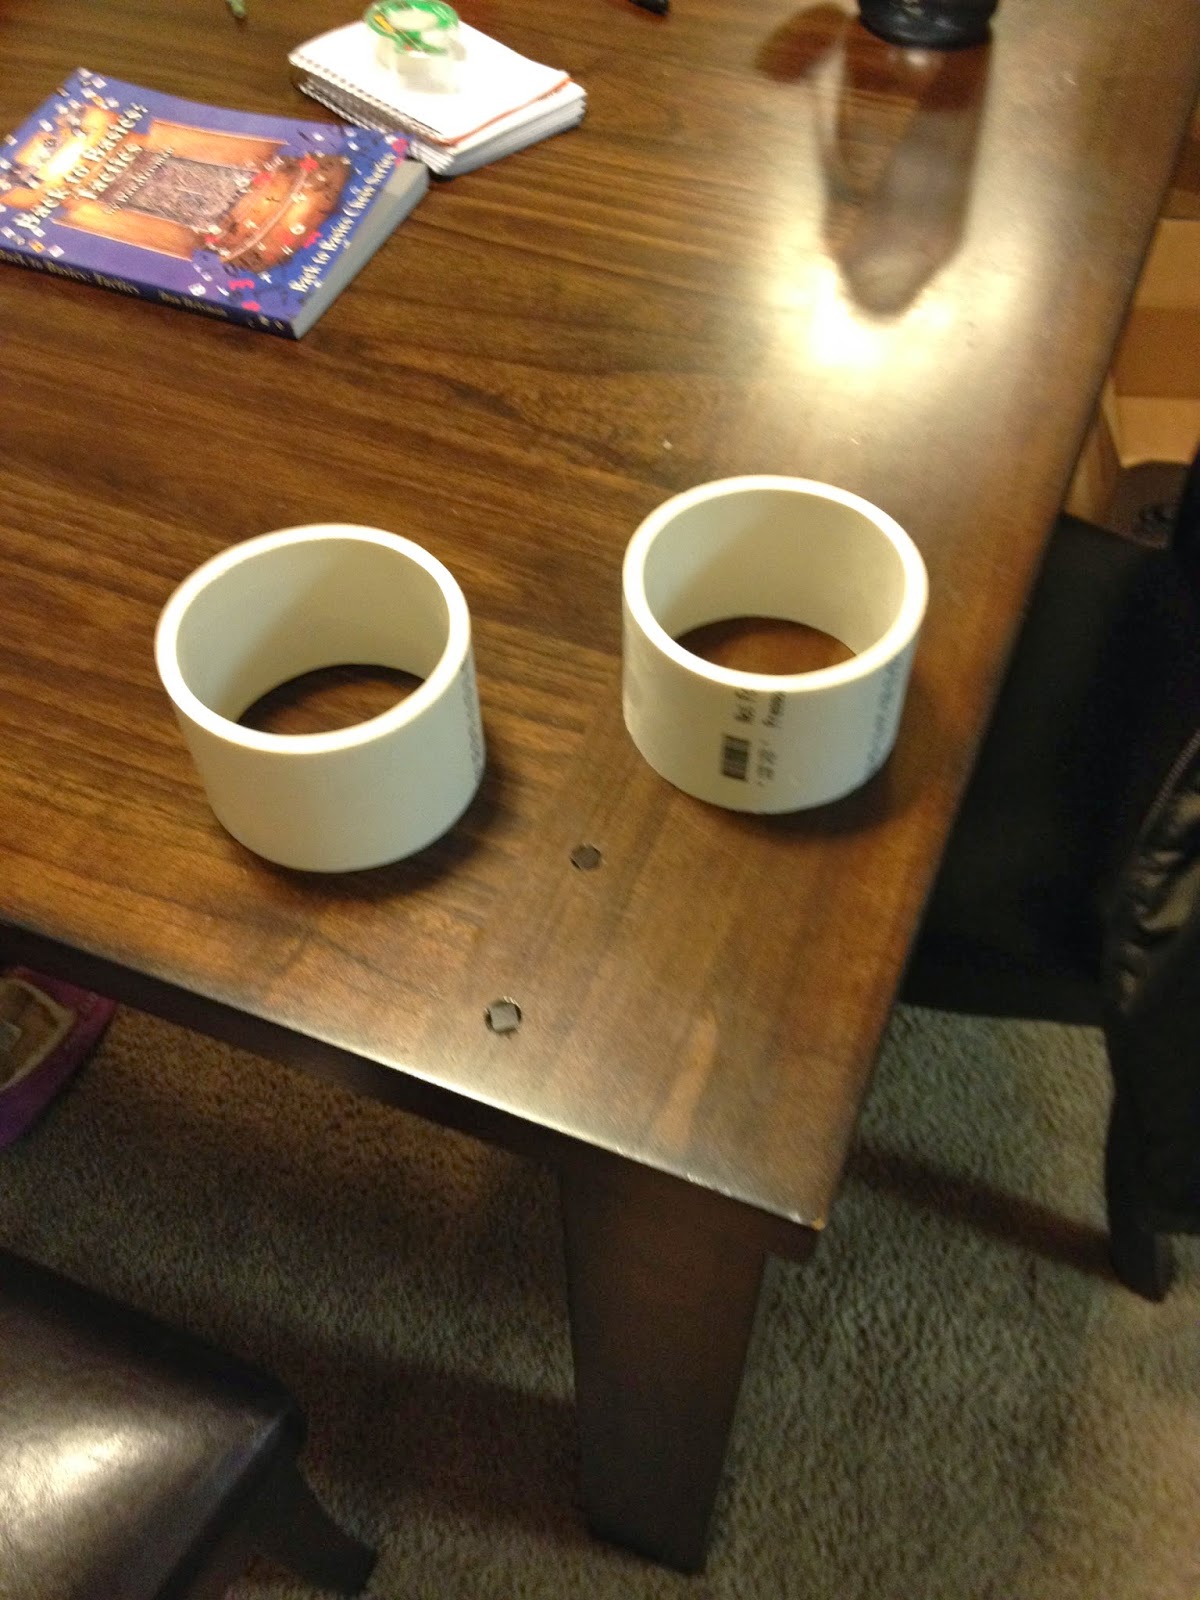
Once your pieces are cut, sand all around the pipe, and paint whatever color you want. (It's pretty necessary to paint because most PVC pipe has black writing on it). We have discovered that it is also necessary to prime the pipe, first.
While your pipes are drying, you can use a box cutter to cut your outdoor rug for the carpeting inside the box. Carpeting the box helps the washers to not bounce out quite as much while in play. Measure the inside of your box, and cut the carpet to size.

Once the carpet is cut, take your PVC pipe, and place it in the center of the rug, backside up. Mark around the inside and outside of the pipe with a marker.
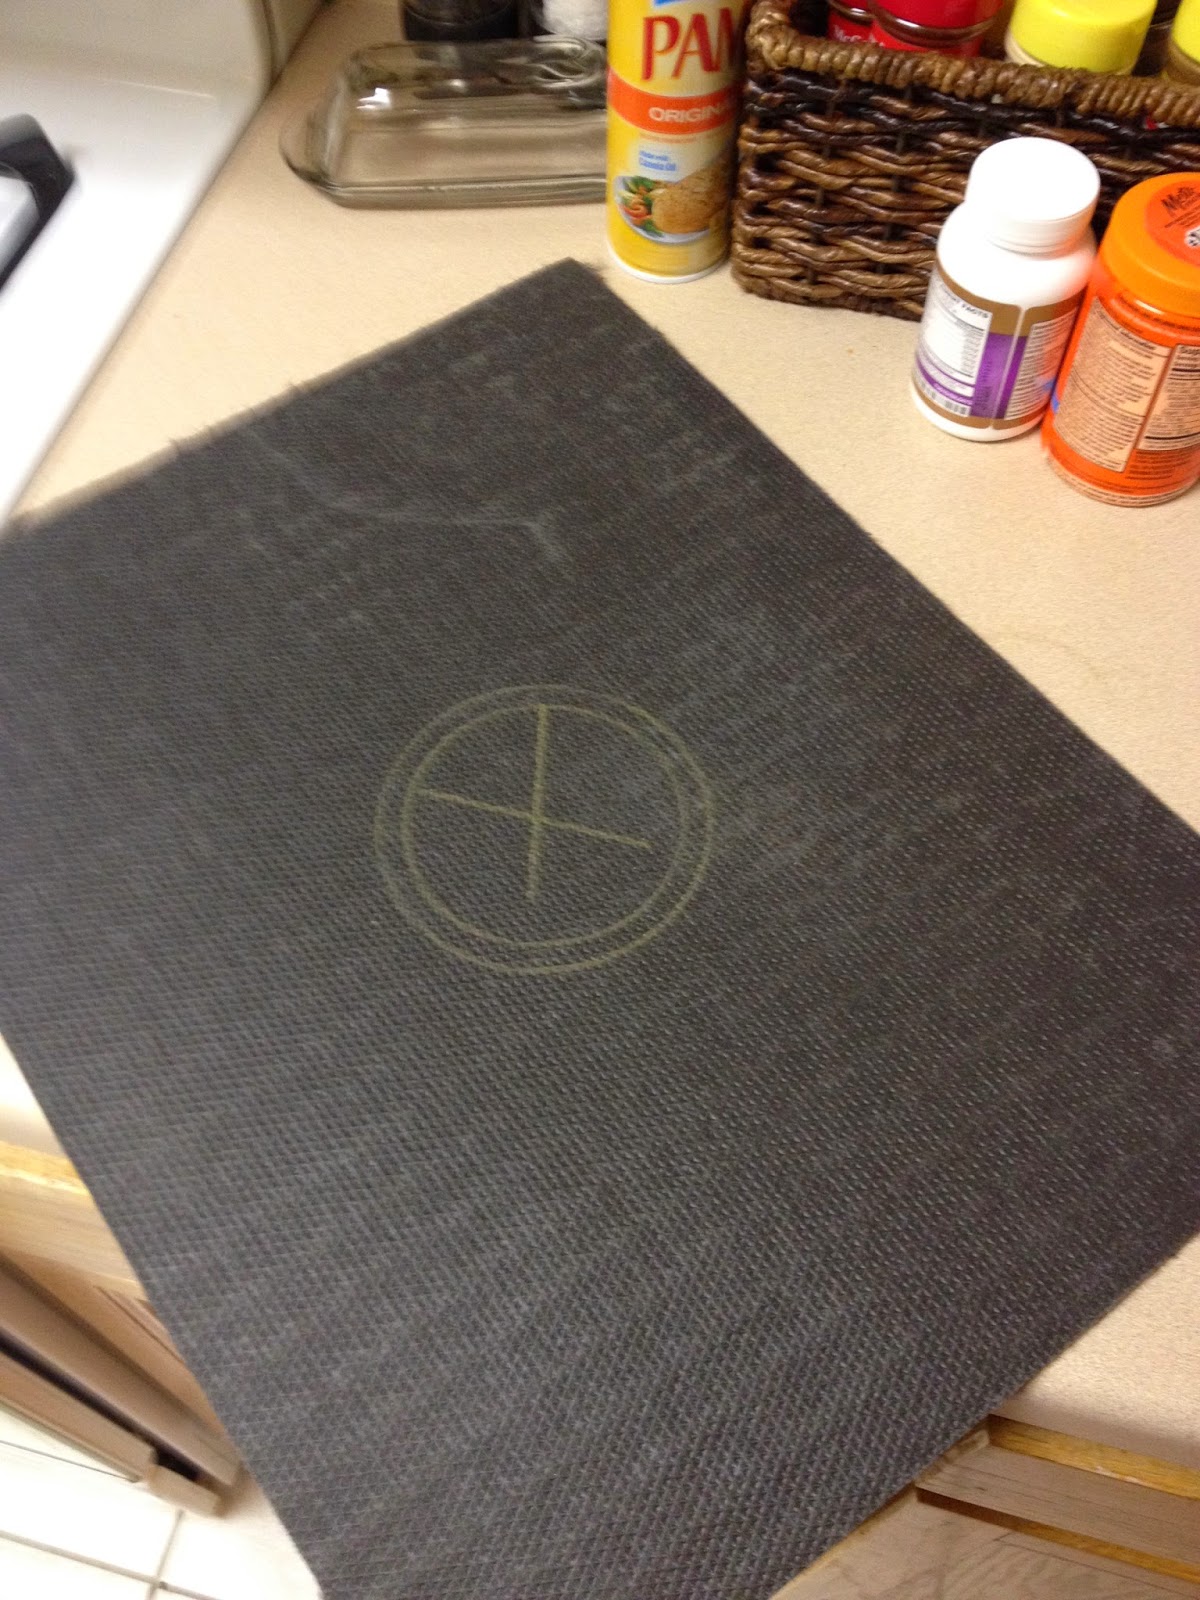
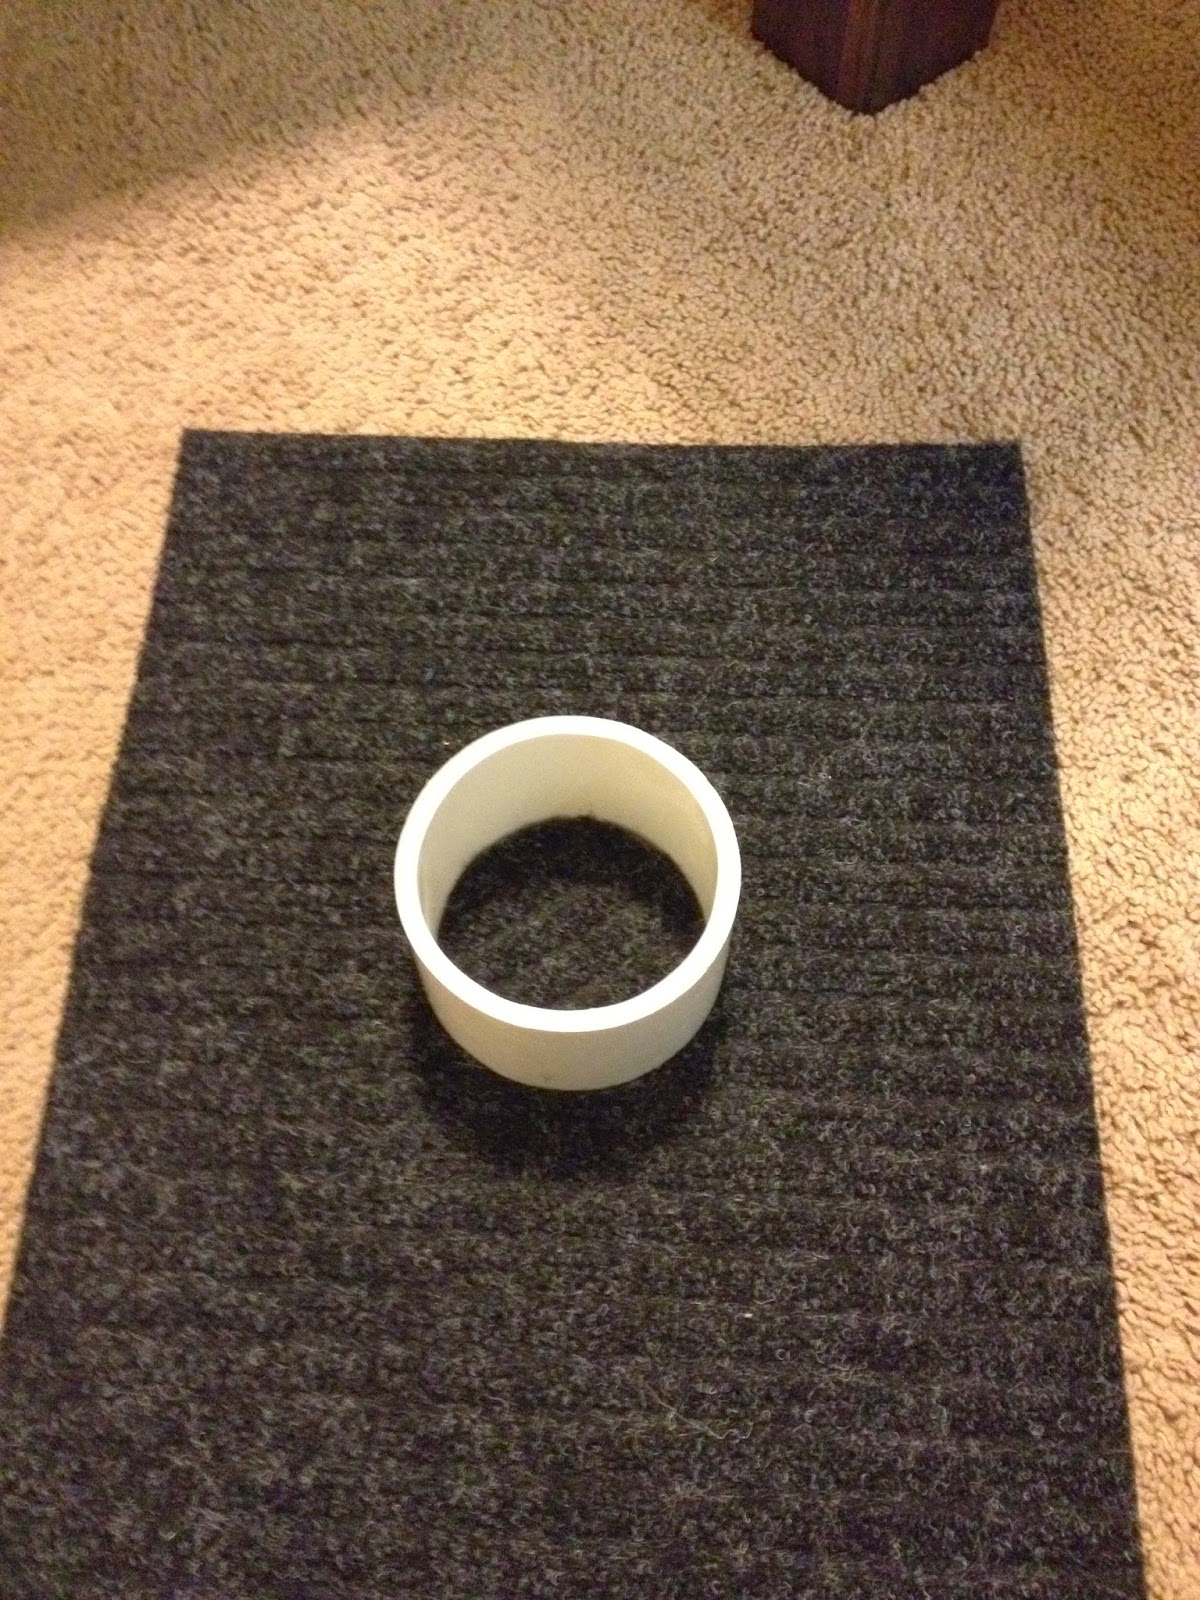
Using the boxcutter, or an Xacto knife, cut the ring out of the rug. Repeat for the other piece of carpet as well. In the end, you will have a hole the size of the PVC pipe cut out of the rug, and a circle the size of the interior of the PVC pipe. Glue the carpets to the inside of each washer box. Place the PVC pipe in the hole, and then glue the circle of carpet inside the PVC pipe. Once dry, put glue on the least straight edge of PVC pipes, and glue the pipes in their respective places.
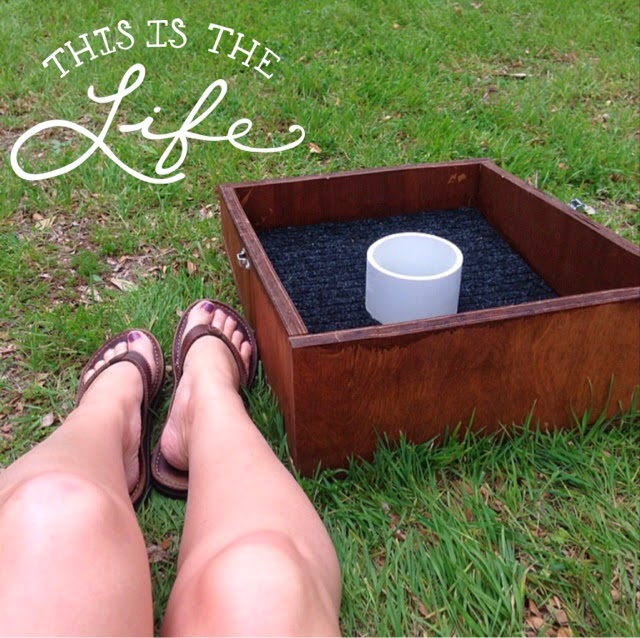
Place something heavy on top of the pipes, and allow to dry for a minimum of 24 hours. Once, they have had 24 hours to cure, your boxes are finished and ready to enjoy. You can also paint your washers whichever color your choose. We chose maroon & white, because we're Aggies.
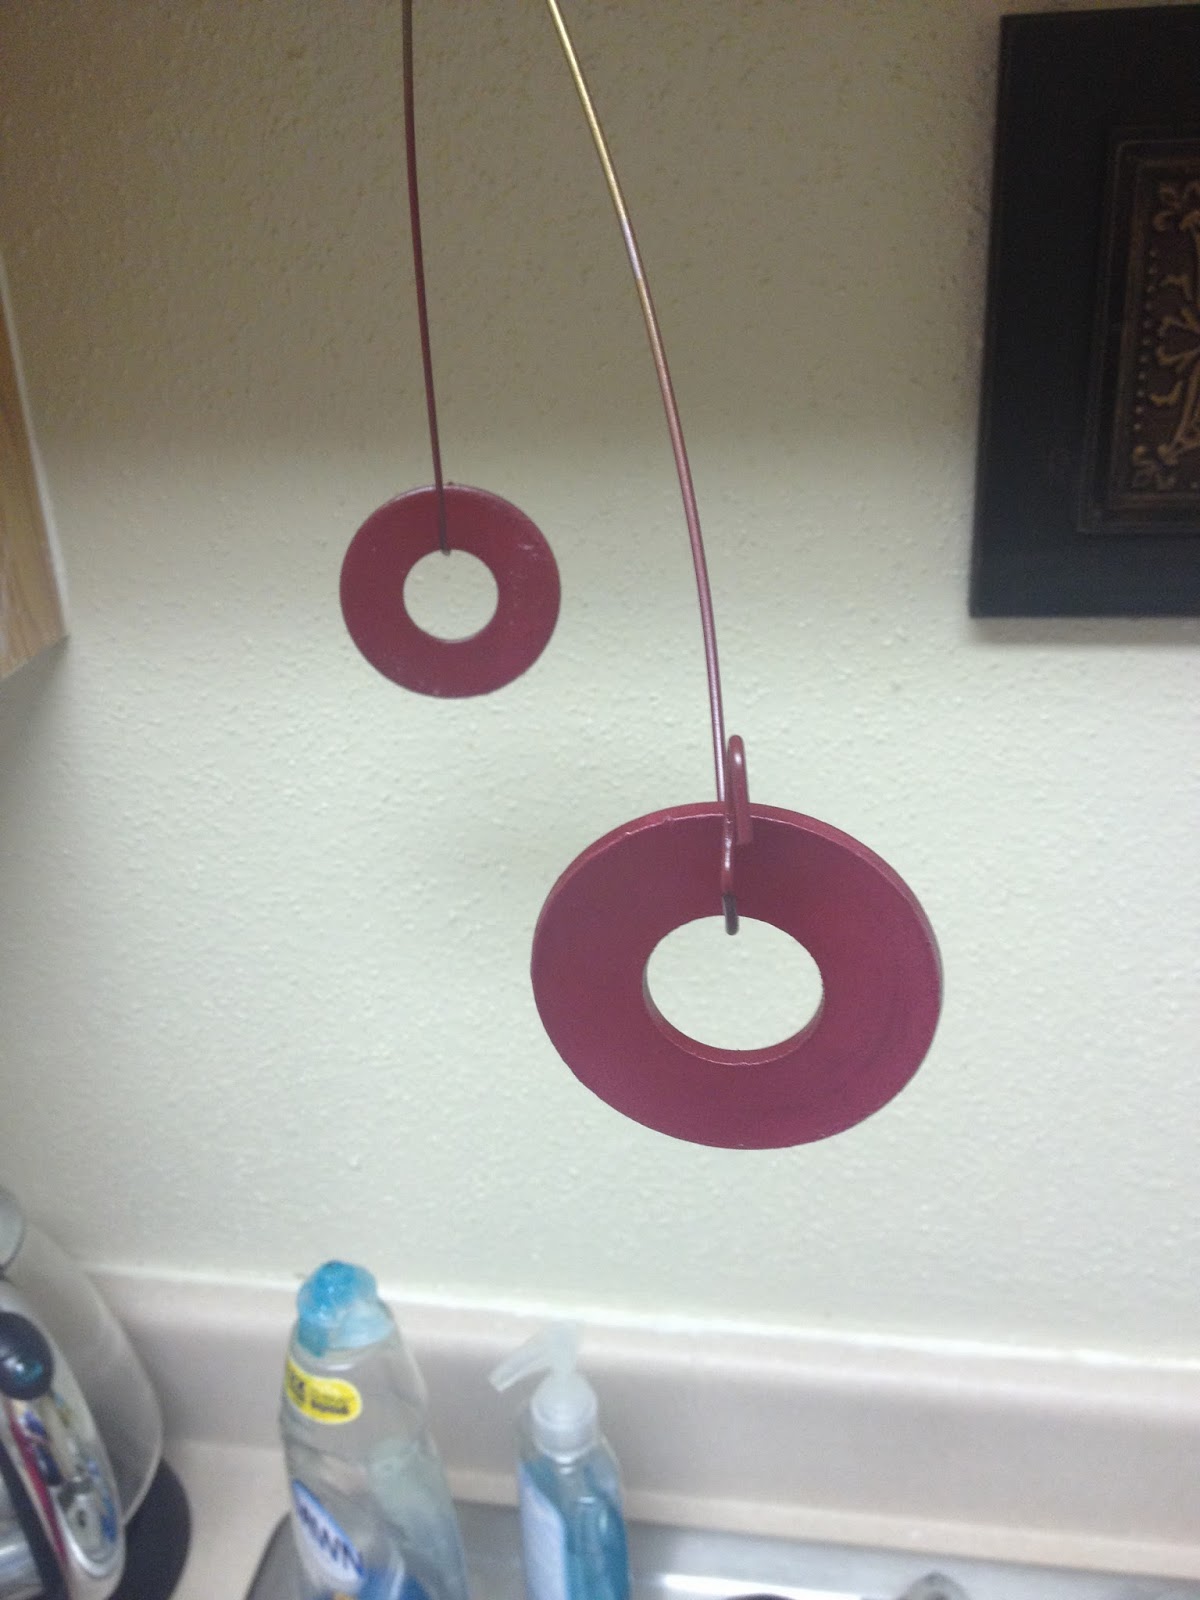
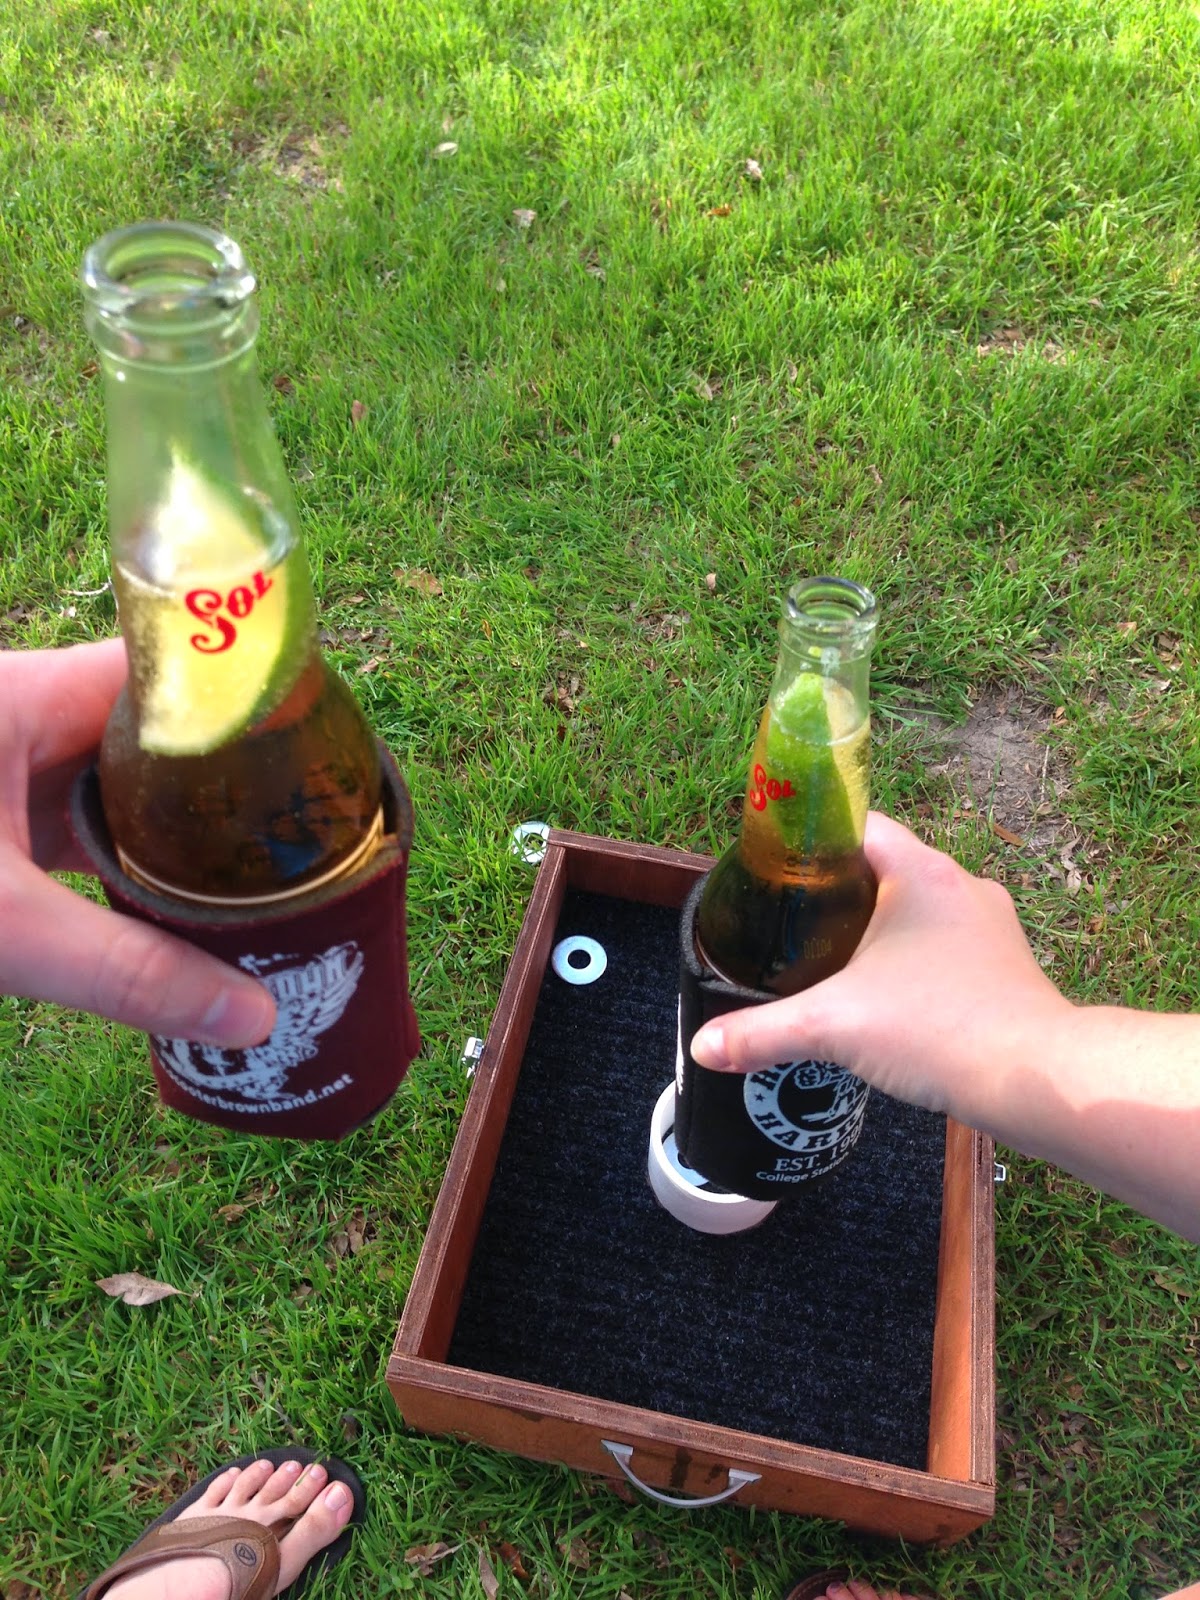
Last but absolutely not least, grab yourself a cold beverage and play some washers!
If you liked this tutorial, and want to see more, let me know in the comments below!
Happy Springtime!